The Outdoor Adventure Giving you tips, tricks & recommendations to help make adventuring in the Outdoors fun, safe & exciting for you and your kids.

When Mr. and Mrs. Adventure first got married, we were given a fancy maple dining set. It lasted us very well for six years and we packed it away into storage when we moved to South America. Within a year of returning with four Jr. Adventures they were falling apart. I glued them together, added screws and bracing for reinforcement, but kids are kids.
Mrs. Adventure needed something that could handle the four kids, plus friends, couldn’t be knocked over and wouldn’t fall apart. After searching online for bench plans, she came across this 4×4 Truss Bench Plan. With a few changes (to the length, materials and height, she was ready to work). Here is our build of some of the most practical, heavy duty and kid proof benches you can make… Oh, and they look fantastic too!
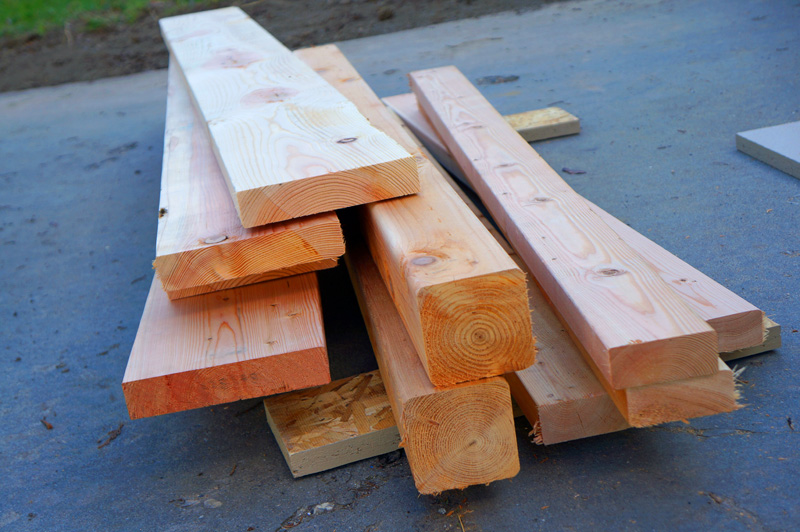
With our adjusted plans in hand we went to the local hardware store and picked up our material for two benches:
- 4 x 2×8″ x 8′ Douglas Fir boards – They’re rough, but take more of a beating than pine and we like the rustic look
- 4 x 2×4″ x 8′ Douglias Fir boards – For the side aprons (you’ll see below)
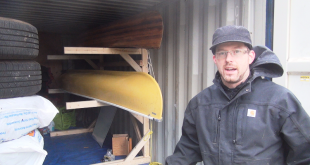
- 4 x 4×4″ x 8′ Cedar – For the frames and bottom stretcher
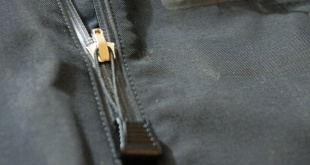
- Kregg Jig – This Jigg is how you hide your screws from sight
- Wood Glue
- Sandpaper (80, 120, 220 grit)
- Varnish
Note, price this out first. They aren’t the cheapest to make if you buy new materials, but they will last!
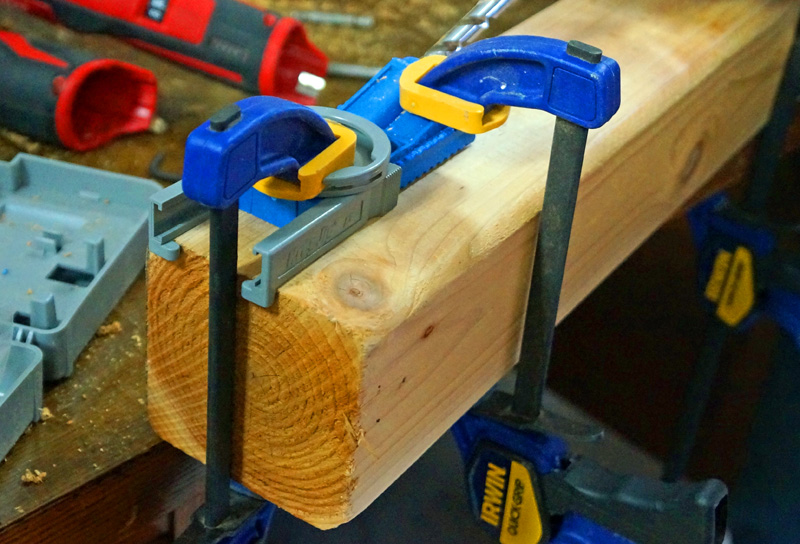
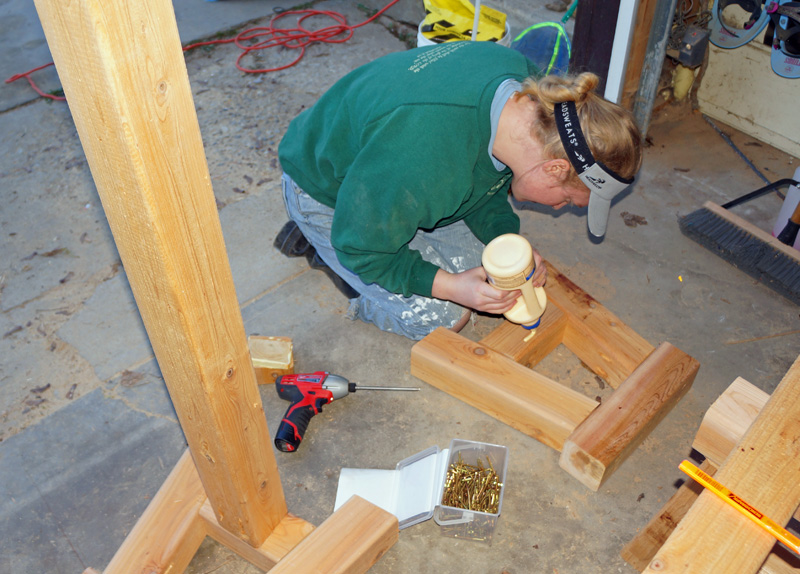
After cutting the wood down to fit our customization (6′ Long) we got to work with the Kregg jig. It comes with its own drill bit, etc and is a great way to pre-drill perfect holes with perfect angles, to the perfect length. It means there won’t be unsightly screws visible in your finished product.
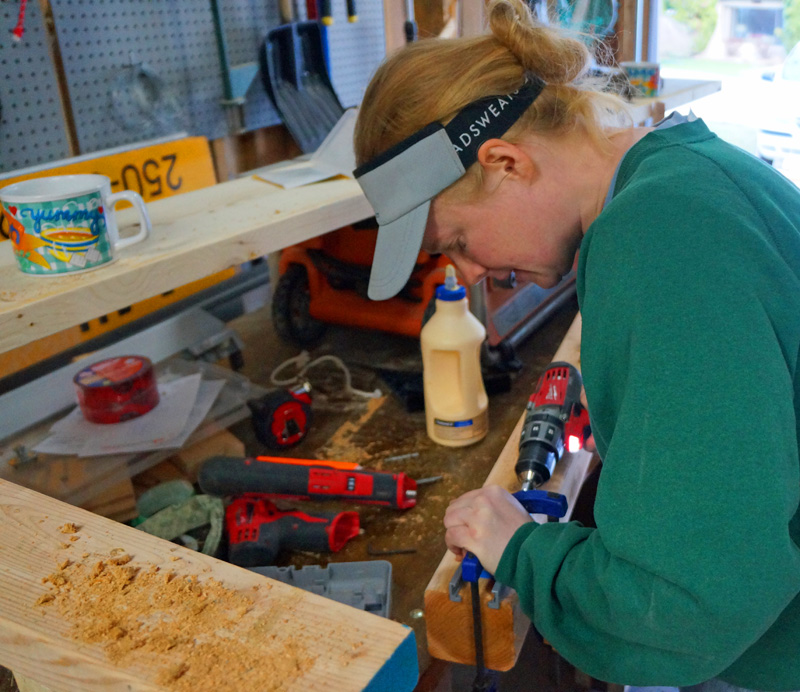
Mrs. Adventure did a lot of this. We got our money’s worth out of that Kregg Jig.
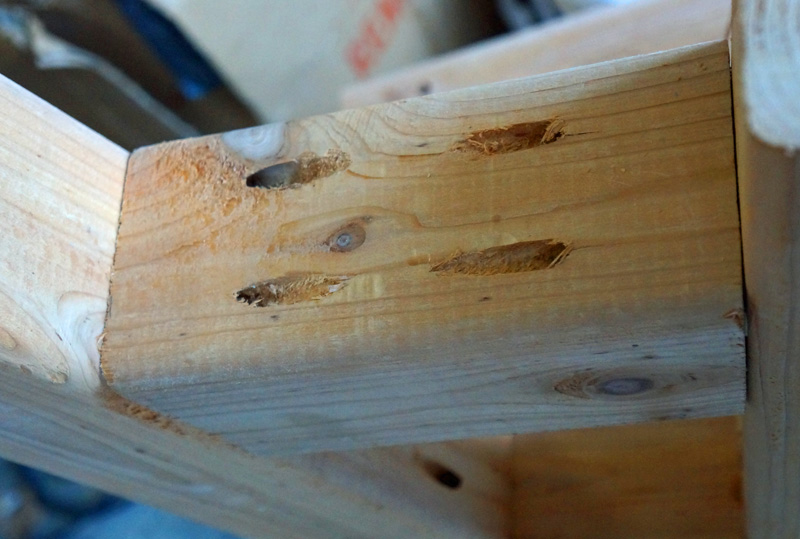
In the end, this is what the pocket holes look like.
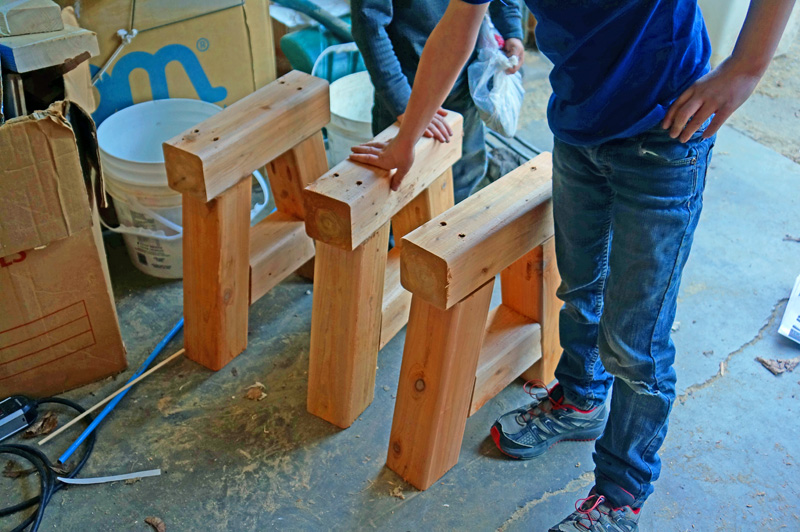
When finished, these Cedar 4×4 frames were durable and lightweight. We wanted these to benches to be heavy, but not too heavy, so the combination of Cedar and a Fir top was ideal. The kids were very impressed with mum’s work and helped out with some of the sanding.
All the joints were glued and screwed, making them doubly strong. I will be very impressed if the kids can manage to break these.
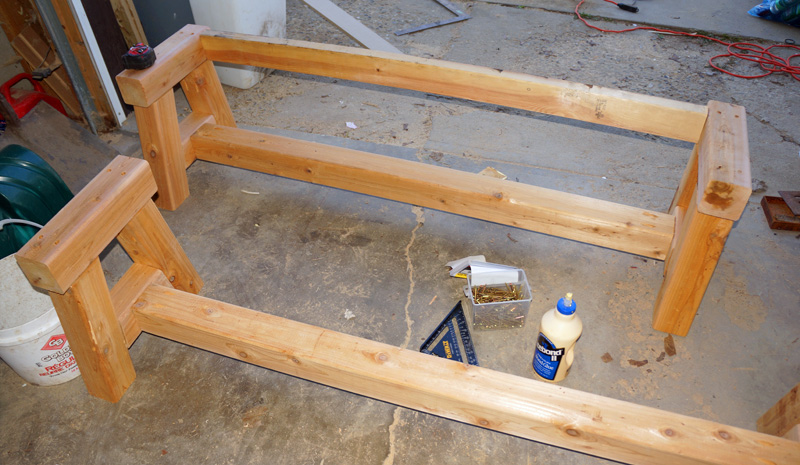
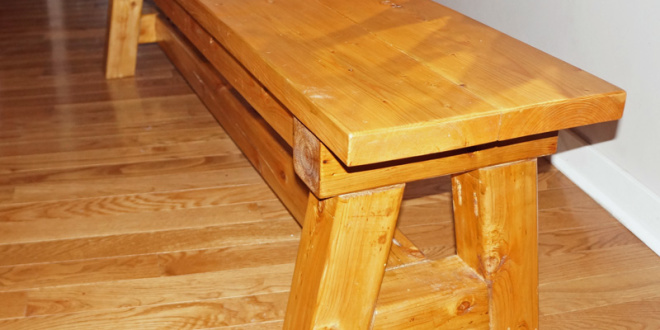
The second to last step was to put on the “aprons”. These are the supports that the Fir 2×8″s will be attached to. We got a little excited at that point and didn’t get any more shots of sanding, attaching the tops or putting on the varnish, so fast forward to the final product!
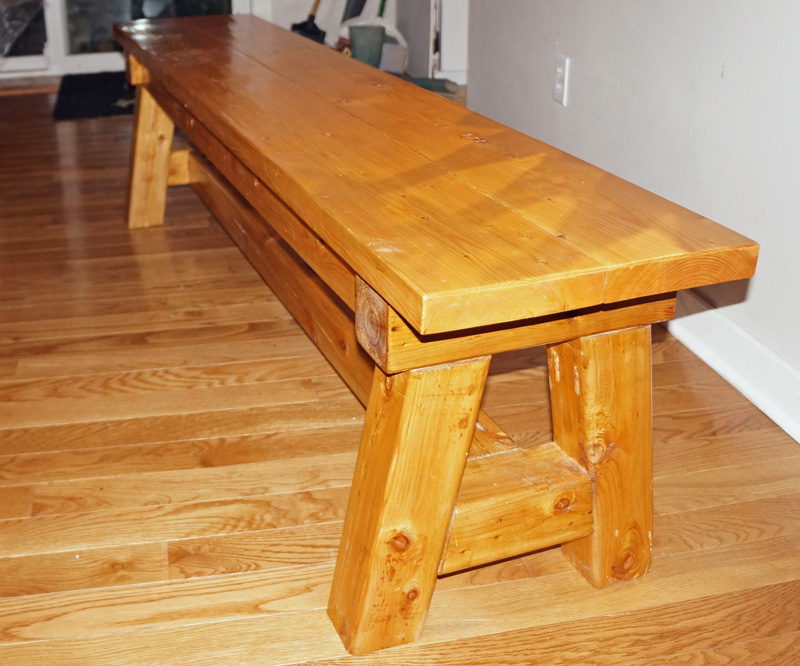
Here they about five months after completion. We made the right decision to put a couple coats of varnish on the top. They’ve held up to multiple birthday parties, handfuls of guests and the kids have yet to knock them over.